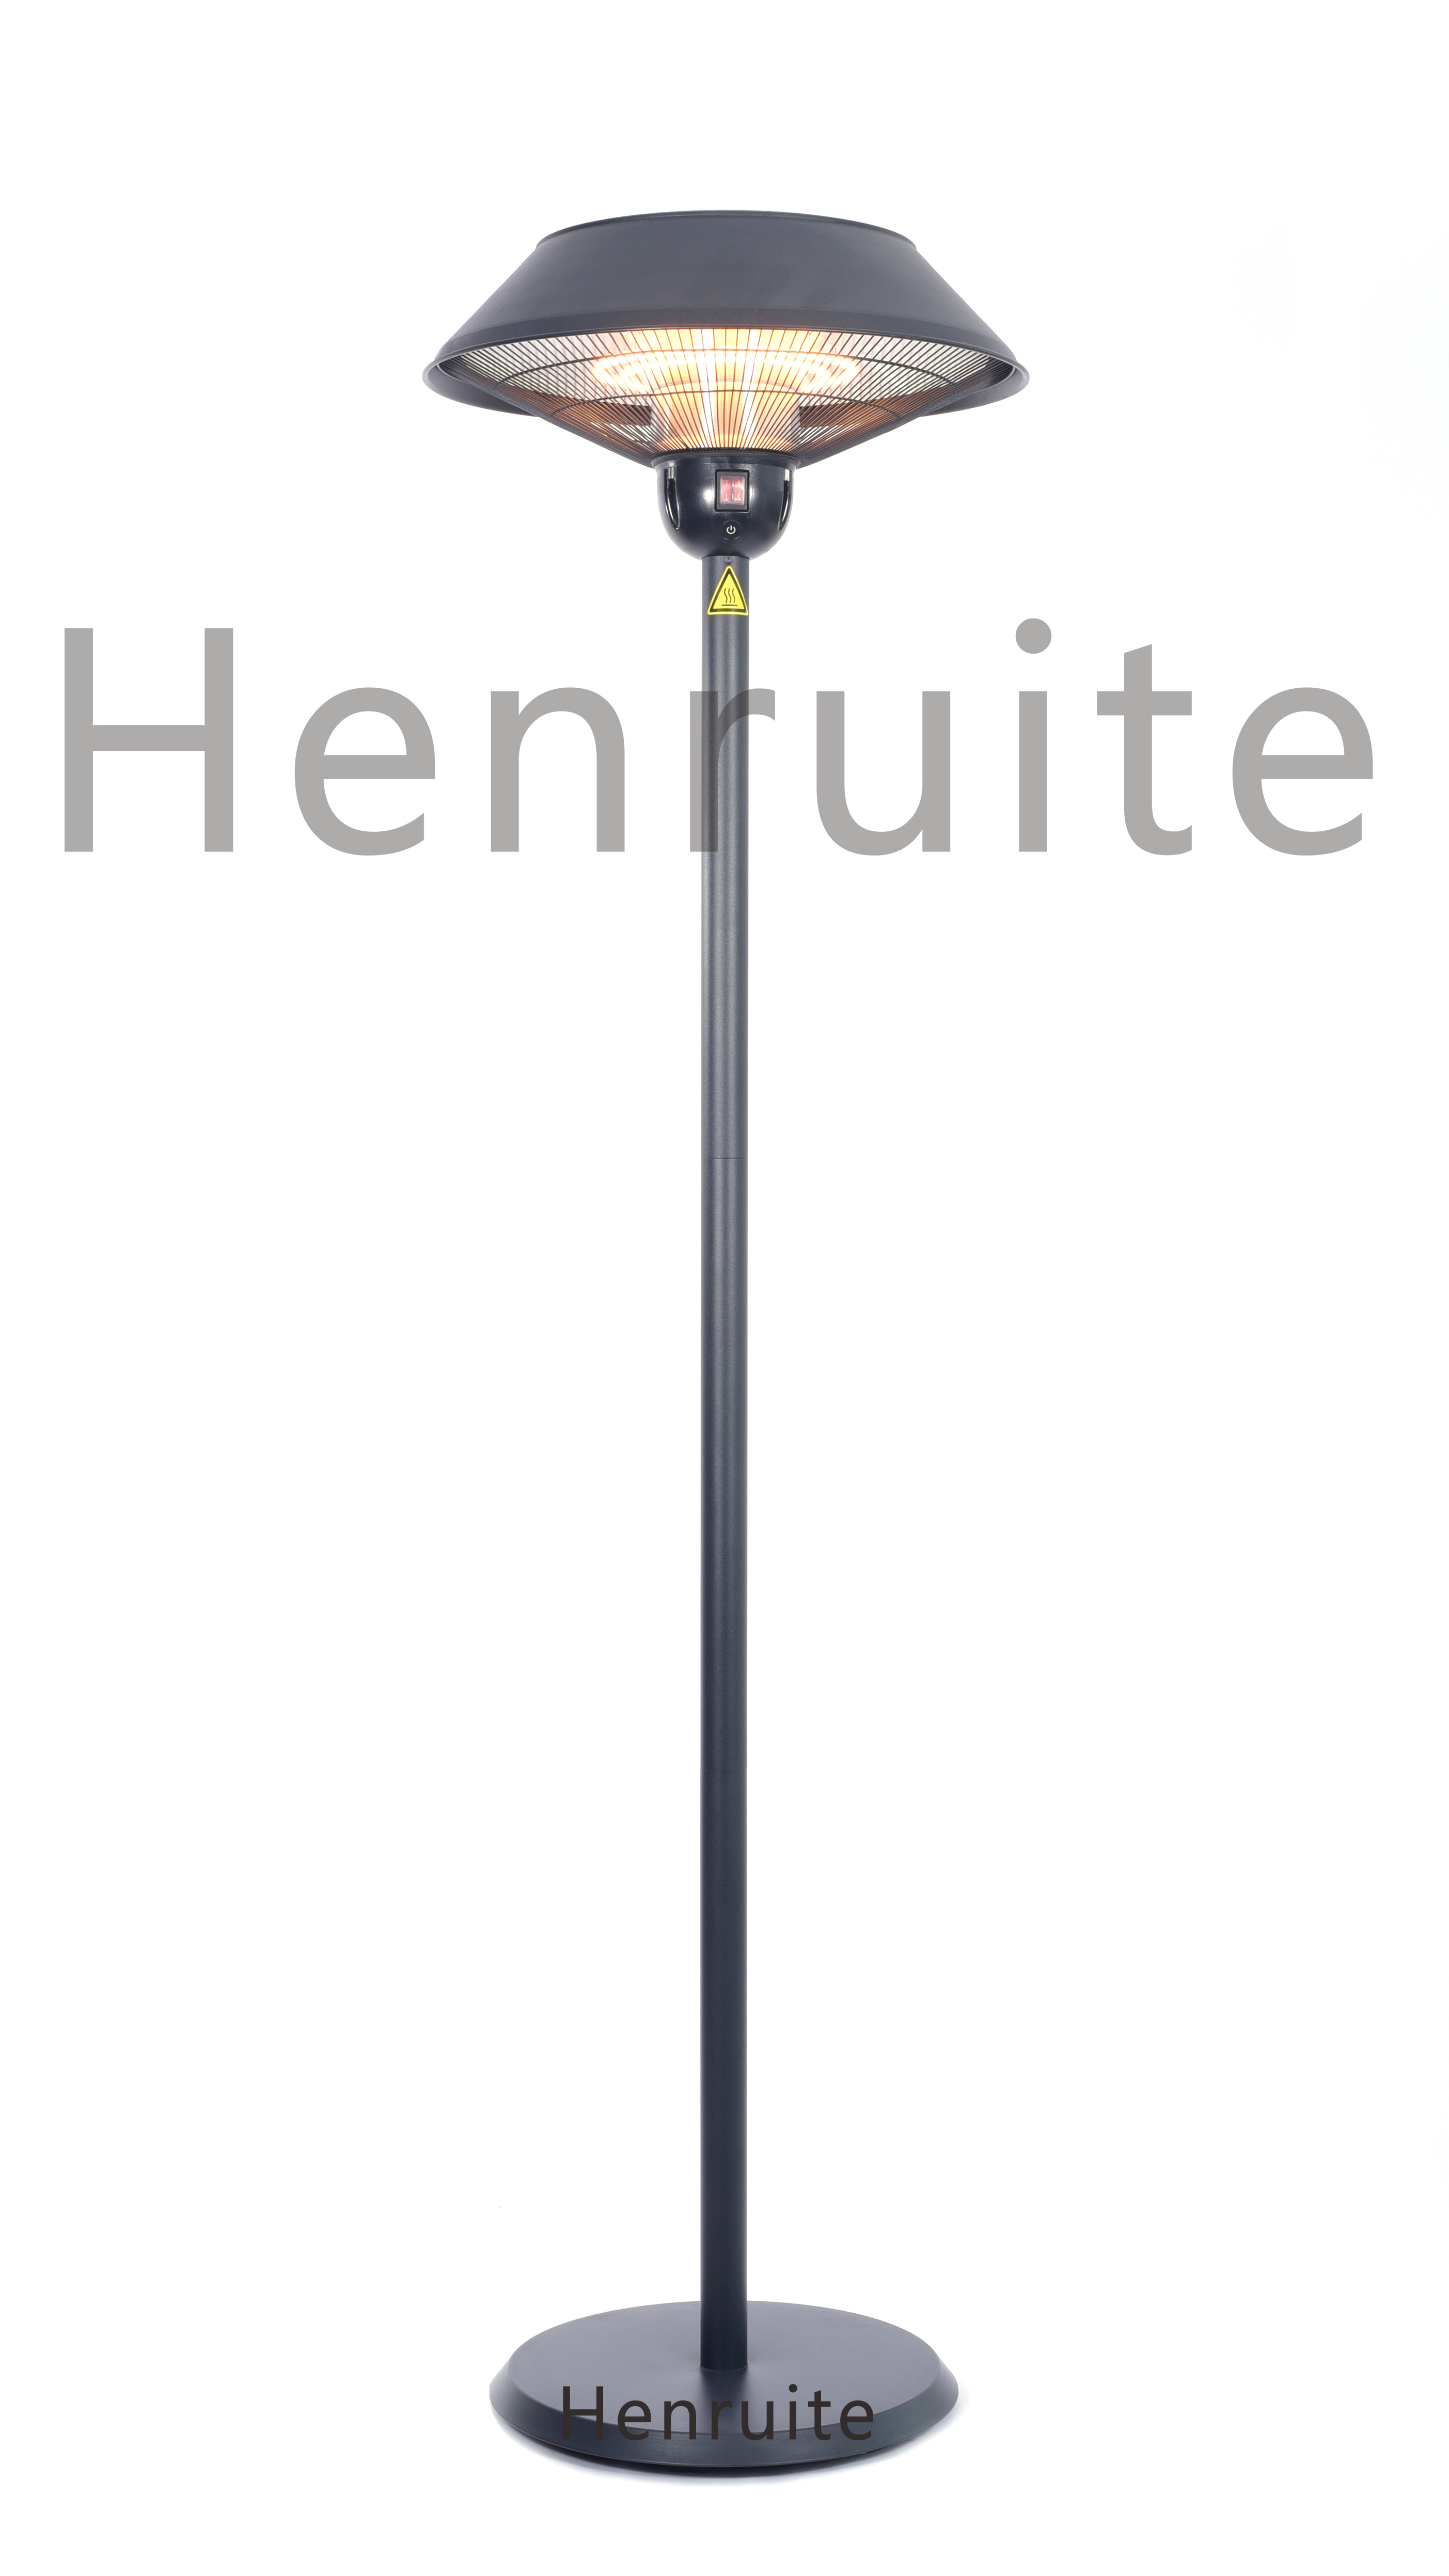
Keeping Your Infrared Heaters Safe in Wet Zones
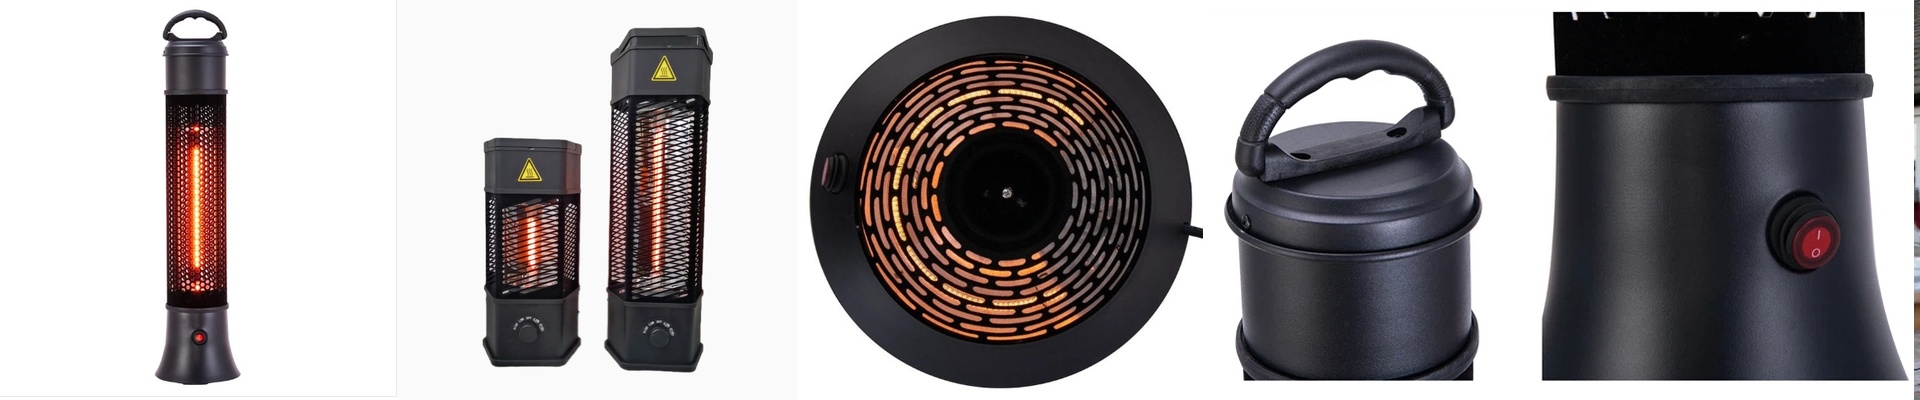
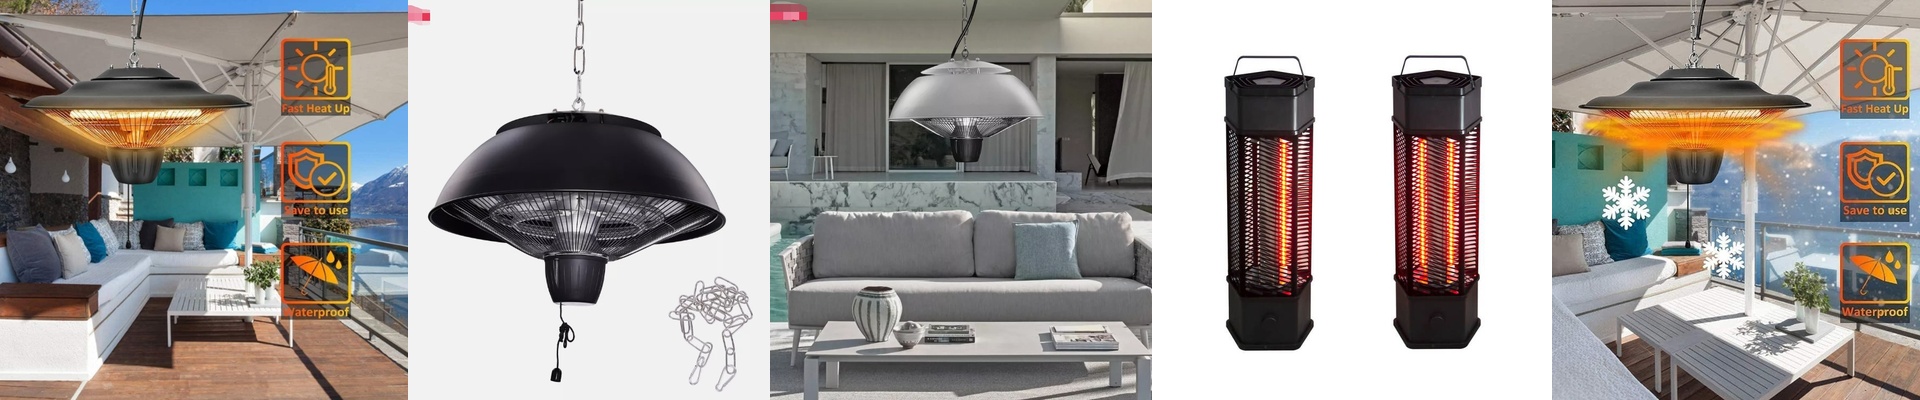
Let’s be honest: putting infrared lamps in a bathroom or on a damp patio is a bit of a gamble. When water vapor hits those hot lamps, it condenses. Before you know it, you’ve got a conductive path from the live terminals straight to the chassis. If you don’t get the insulation right, you’re looking at constant GFCI trips. Or, if you’re really unlucky, a genuine shock hazard. Neither is a great look. The secret to keeping things dry To get that total insulation, we spend most of our time obsessing over where the terminals meet the housing. Standard R7s or Sk15 connectors just aren’t cut out for wet environments. Instead, we use high-temp silicone gaskets and epoxy potting right where the wires enter. It basically blocks moisture from sneaking into the guts of the circuitry. We then put the units through a hi-pot tester, just to make sure the insulation doesn’t buckle when the voltage peaks. The battle between heat and seals Here’s the tricky part: waterproofing and heat dissipation usually hate each other. If you seal a lamp too tight in a metal or plastic box, the heat builds up and melts your seals right off. To stop that, we use expanded PTFE or ceramic spacers. These keep the heating element and the frame electrically separate, but they also give the quartz tube room to breathe—expanding and contracting without cracking the waterproof seal. The trade-off you need to know about There is a catch, though. Total waterproofing usually means a closed-system housing. That traps heat. You’ll notice these lamps can’t run quite as hot as the open-air versions. If you try to push the wattage to the absolute limit, you’re risking a burnout of the internal wiring. It’s all about finding that sweet spot between heat density and how much air the outer enclosure can actually move. Just make sure you wire everything with grounded conduits and stick to IP65-rated junction boxes. That way, even when the air is thick with steam, everything stays safe.