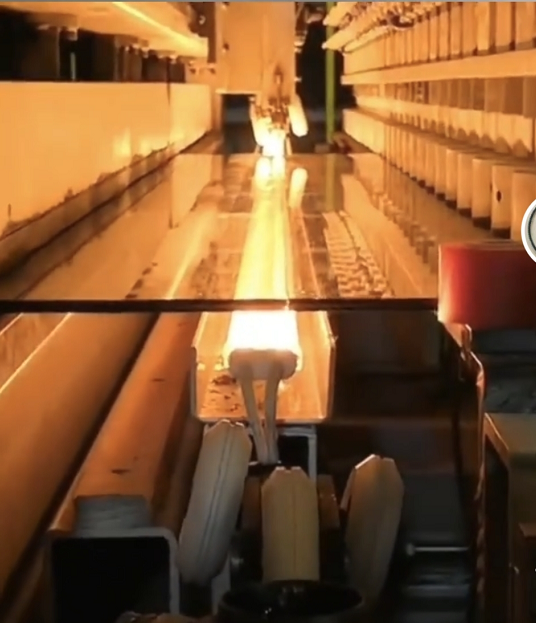
On the glass line, heat distribution isn’t a setting you tweak in the background—it is the process. If the thermal field is uneven, tempering shows up as optical distortion, bending brings wave, and lamination cures unevenly. The fallout is scrap, rework, and downtime you didn’t plan for. We built our infrared lamp reflector to make the heat field do what it’s supposed to. What matters under the hood The reflector pairs short-wave infrared quartz elements with a high-emissivity, anodized aluminum reflector cavity. The geometry is set for line-of-sight radiation, so the energy lands where you want it—not wasted on the frame or the air. Power density is tuned for glass: fast response, controlled peak, and a stable profile across the width of the belt or mold. Output stays repeatable shift to shift, so setpoints don’t drift with ambient changes. Here’s why that matters in practice. Uniform heating is your first line of defense against thermal stress. With this reflector, the glass surface sees a consistent temperature spread, so you don’t get hot spots and cold edges that push bow, warp, and edge cracks. In tempering, that means more consistent surface compression and fewer optical defects. In lamination and coating drying, uniformity gets you a faster, more reliable cure—without overheating the PVB/EVA or damaging low-E layers. You also use less energy, because less heat is lost to convection and stray radiation, and cycle times stay predictable. A few shop-floor details you can’t skip. Mounting and alignment are critical. The reflector has to be fixed within tolerance to the heating zone; a small offset can throw a shadow that shows up as optical distortion. The operating distance is set by design—move the lamp, and you change power density and uniformity. Keep the reflector surface clean; dust and fume deposits drop emissivity and skew the profile. For retrofits, confirm the electrical interface and clearance to existing fixtures so you don’t end up modifying things in the field.